Few things are more nerve-wracking than opening your computer and realizing an entire partition — where all your photos, projects, or important files lived — has simply vanished. You might open File Explorer, expecting to see your familiar “D:” or “E:” drive, only to find it missing.
Before panic sets in, take a deep breath. In most cases, your data isn’t gone forever. Missing hard drive partitions are surprisingly common in Windows 10 and 11, and they can usually be fixed with the right steps — even if they don’t appear in “This PC.”
This guide walks you through everything: why partitions disappear, how to troubleshoot the issue, and ways to recover data if something goes wrong. You don’t need to be a tech wizard — just follow along carefully, and you’ll have your drive back in no time.
Why Your Hard Drive Partition Might Not Show Up
When Windows can’t detect a hard drive partition, it doesn’t always mean your drive is dead. Sometimes, it’s simply “invisible” to the system due to software errors, drive letter conflicts, or corrupted system files.
Here are the most common reasons behind the problem:
- Loose or faulty connections: SATA or USB cables can come loose or fail over time, causing the partition to disappear temporarily.
- Drive letter issues: If two drives share the same letter, Windows hides one of them automatically.
- Corrupted file system: A damaged or unreadable file system (like NTFS or FAT32) can prevent Windows from mounting the partition.
- Unallocated space: The partition might have been deleted or converted into unallocated space accidentally.
- Outdated or missing drivers: Older drivers can prevent Windows from recognizing your hard disk properly.
- Partition table corruption: The partition table, which defines where partitions begin and end, might be damaged.
Knowing the cause is half the battle. Once you identify what’s wrong, fixing it becomes much simpler.
Step #1: Check for Hardware Issues First
Before diving into software fixes, start with the basics — your hardware. Many partition issues begin with something as simple as a bad cable or connection.
1.1. Check the Physical Connections
If you’re using a desktop PC, open the case carefully and ensure that the SATA cables are securely connected to both the drive and the motherboard. If you’re on a laptop, make sure the drive hasn’t come loose in its slot (this can happen after accidental drops or shocks).
If it’s an external drive, try using a different USB port or cable. Some USB ports may not provide enough power to spin up larger external hard drives.
1.2. Listen for Unusual Sounds
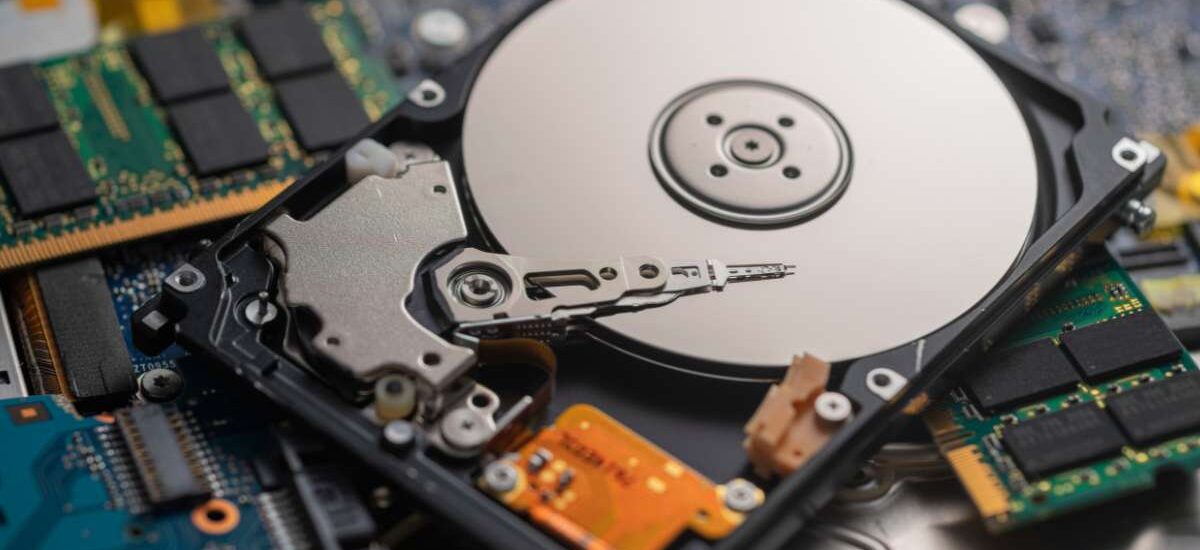
When you power on the drive, listen carefully. A healthy drive makes a smooth whirring or humming sound. Clicking, grinding, or beeping noises may indicate mechanical failure. If that’s the case, stop immediately — using the drive further could make things worse.
You may need professional recovery help if the drive itself is physically failing.
1.3. Check in BIOS or UEFI
Restart your PC and enter the BIOS/UEFI setup (usually by pressing Del, F2, or Esc during startup). If the drive doesn’t appear here, Windows can’t access it either.
If BIOS doesn’t recognize it, double-check cables again. If it still doesn’t show, the drive may need replacing.
Step #2: Rescan Disks and Bring the Disk Online
If the hardware looks fine, it’s time to check Windows’ internal disk management tools. Sometimes, a drive just needs a “rescan” or reinitialization to reappear.
2.1. Open Disk Management
Right-click the Start button and choose Disk Management. This tool shows every disk attached to your computer — even ones without drive letters.
Look closely at the list:
- If your drive shows as Offline, right-click it and choose Online.
- If it’s marked as Unallocated, that means the partition has been deleted or lost.
2.2. Rescan Disks
If the drive doesn’t appear at all, try forcing Windows to look for it again:
In Disk Management, click Action → Rescan Disks.
Windows will check for any missing volumes and attempt to bring them back. This alone can sometimes make a missing partition reappear.
2.3. Initialize the Disk (If Needed)
If the disk shows as Not Initialized, right-click it and choose Initialize Disk. You’ll be prompted to pick a partition style:
- MBR (Master Boot Record): Works for older systems.
- GPT (GUID Partition Table): Better for newer computers with UEFI.
⚠️ Warning: Initializing a disk will erase existing partitions if you choose incorrectly. Only do this if you’re sure the disk was never formatted or has no valuable data.
If you suspect data is still there, skip this step for now and go straight to data recovery later in this guide.
Step #3: Use DiskPart to Reassign or Repair the Partition
If Disk Management didn’t fix things, you can use DiskPart, a command-line utility built into Windows, to identify and restore hidden partitions.
3.1. Open Command Prompt
Type cmd in the Windows search bar, right-click it, and choose Run as administrator.
Then type:
diskpartPress Enter.
3.2. List the Available Disks
Type:
list diskYou’ll see all connected drives (Disk 0, Disk 1, etc.). Identify the one that’s missing from File Explorer by checking its size.
3.3. Select and List Partitions
Type:
select disk 1
list partition
Replace “1” with your actual disk number.
If you see your missing partition listed but it lacks a drive letter, you can reassign one:
select partition 1
assign letter=E
Exit DiskPart and check if the drive now appears in File Explorer.
3.4. Repair Partition Attributes
If the partition isn’t visible, you can also try marking it as active (use this cautiously, as activating the wrong partition can prevent Windows from booting):
select partition 1
active
Then exit and reboot your system.
If none of these work, your partition table might be corrupted — that’s our next step.
Step #4: Repair a Damaged Partition Table or File System
Corruption in the partition table or file system can make your drive unreadable or invisible to Windows. Fortunately, several built-in tools can help repair these issues.
4.1. Run CHKDSK
Open Command Prompt (Admin) again and type:
chkdsk E: /fReplace “E:” with your missing partition’s letter (if assigned).
The /f switch tells CHKDSK to fix any errors it finds. This command scans for bad sectors, logical file system errors, and repairable corruptions.
If CHKDSK can’t run because the drive is locked, it’ll ask if you want to schedule a check at the next restart — type “Y” and reboot.
4.2. Use System File Checker
Sometimes system corruption, not the drive itself, causes partitions to vanish. Run:
sfc /scannowThis checks Windows system files for corruption and repairs them. It won’t restore data, but it can fix system-related detection issues.
4.3. Repair Partition Table with Command-Line Tools
If your partition table is broken, DiskPart won’t help much. You can try tools like:
bootrec /fixmbr
bootrec /fixboot
bootrec /rebuildbcd
These commands repair the boot and partition structure of drives that have been affected by improper shutdowns, failed installations, or malware.
Step #5: Recover Lost Partition Data (If Nothing Else Works)
If your partition still doesn’t show up — or if you’ve already reinitialized or formatted it by mistake — it’s time to focus on data recovery.
Fortunately, data recovery software can often detect and rebuild missing partitions, even when Windows cannot.
5.1. How Partition Recovery Software Works
When a partition disappears, the underlying data blocks usually remain intact. Partition recovery tools scan the drive at a deep level to locate lost partition signatures and rebuild them virtually.
These tools can recover:
- Accidentally deleted partitions
- Formatted drives
- Corrupted file systems
- Unreadable or RAW partitions
5.2. What to Look for in Recovery Software
When choosing recovery software, look for the following features:
- Partition-level scanning: Ensures it can find lost or hidden partitions.
- Preview before recovery: Lets you see your files before restoring them.
- Support for NTFS, FAT32, exFAT: Ensures compatibility with your Windows drives.
- Read-only recovery: The software should never write data to the damaged drive — that could overwrite recoverable files.
5.3. The Recovery Process (Step-by-Step Example)
Here’s what a typical recovery workflow looks like:
- Download and install recovery software on a different drive (not the affected one).
- Launch the program and select the drive that contained the missing partition.
- Choose “Lost Partition Recovery” or similar mode.
- Scan the drive — the tool will search for missing or deleted partitions.
- Once the scan completes, preview the recovered files.
- Select and save the files you want — ideally to a different drive for safety.
After recovery, you can reformat or recreate the missing partition safely without losing important data.
Pro Tip: Avoid Data Overwrite at All Costs
When a partition disappears, the most important rule is do not write new data to that drive. Even browsing or downloading to that disk can overwrite sectors containing your old files, making recovery impossible.
If you suspect data loss:
- Stop using the drive immediately.
- Perform recovery first, then worry about reformatting.
Every write operation reduces the chances of full recovery.
Bonus Step: Update or Reinstall Disk Drivers
Outdated or corrupt disk drivers can also cause Windows to fail at detecting partitions.
How to Update Disk Drivers:
- Press Windows + X → Device Manager.
- Expand the section Disk drives.
- Right-click your problematic drive and select Update driver → Search automatically for drivers.
- If that doesn’t work, you can also uninstall the drive and restart your computer. Windows will reinstall the driver automatically.
Keeping drivers current helps avoid detection problems and ensures smooth disk communication with the operating system.
When to Seek Professional Help
If you’ve tried everything and your partition still doesn’t appear — especially if the drive makes unusual noises — you may be dealing with hardware-level failure.
Professional data recovery labs can:
- Rebuild damaged platters or read heads.
- Access firmware-level data.
- Extract information from drives that no longer spin properly.
These services can be expensive, but if the data is irreplaceable (family photos, business archives, etc.), it may be your best option.
How to Prevent Partition Disappearance in the Future
Once you’ve fixed or recovered your drive, take a few steps to prevent future scares.
- Create regular backups: Use external drives or cloud storage. Tools like Windows Backup or File History can automate this.
- Safely eject external drives: Always remove USB drives using “Safely Remove Hardware” to prevent corruption.
- Avoid forced shutdowns: Cutting power mid-operation can corrupt partition tables.
- Monitor drive health: Use tools like CrystalDiskInfo to keep an eye on temperature and read/write errors.
- Keep Windows updated: System updates often include important driver and file system fixes.
Final Thoughts
A missing hard drive partition might feel like a disaster, but it rarely means permanent data loss. With a calm approach and the right steps — from checking connections to using tools like Disk Management, DiskPart, and partition recovery software — you can usually bring your drive back to life.
The key is to act carefully and avoid overwriting data before recovery. Once your files are safe, you can reformat, rename, or resize partitions without worry.
In the end, the experience might even be a reminder to back up more often. Because while disappearing partitions can be restored, peace of mind is priceless.