When your computer starts acting strange with slow performance, corrupted files, or improper shutdowns, you may run the CHKDSK tool hoping it will fix the problem. And while CHKDSK is incredibly helpful for repairing bad sectors, file system errors, and directory issues, it can also cause an unexpected nightmare: your files suddenly go missing.
Everything seems fine until you open a folder and realize that a batch of documents, photos, videos, or project files have disappeared. Maybe they’re replaced by strange .chk files. Maybe the folder you need is suddenly empty. Maybe CHKDSK completed but left a trail of deleted or “orphaned” data in its wake.
This situation can feel alarming, but the good news is this:
Files deleted or altered by CHKDSK are often recoverable.
You just need to know where to look and which recovery steps to take.
In this guide, we’ll break down—in simple, human language—why CHKDSK deletes or hides files, what .chk files are, and how to recover your data quickly and safely using multiple proven methods.
Let’s start by understanding why the issue happens in the first place.
Why CHKDSK Deletes or Hides Files
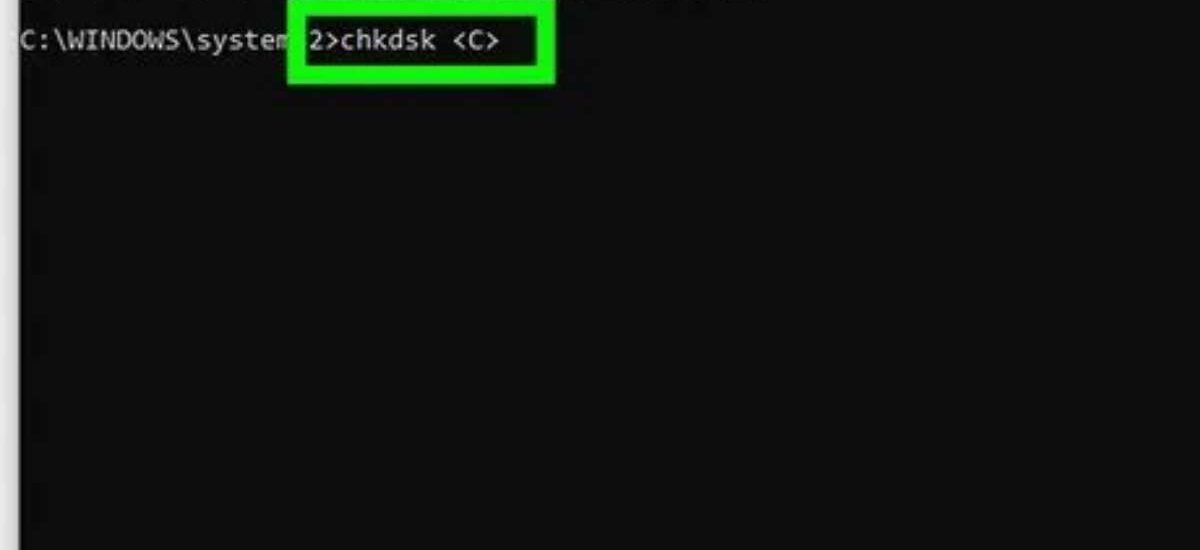
To understand how CHKDSK can “delete” your files, you need to know what the tool actually does.
CHKDSK (short for “Check Disk”) scans your drive for file system errors, corrupted entries, cross-linked files, fragmented indexes, and physical bad sectors. When it detects something wrong, it doesn’t ask for permission—it tries to fix it automatically.
And that’s where the problems begin.
Here’s why files sometimes disappear after a CHKDSK scan:
1. CHKDSK Converts Corrupted Data Into .CHK Files
When CHKDSK finds a damaged file fragment, it may extract it and store it inside a hidden folder called FOUND.000. These fragments become .chk files—essentially raw chunks of data that CHKDSK couldn’t “match” with their original location.
2. Orphaned Files Get Moved
If CHKDSK detects a file without a proper directory reference, it often moves it to the FOUND folder or reassigns it as a “lost chain,” removing it from where you expect it to be.
3. Damaged Directories Get Rebuilt
If a folder is corrupted, CHKDSK may rebuild its structure. In this process, files that were inside may temporarily disappear or be reclassified as lost.
4. Cross-Linked Files Get Deleted
When two files share the same disk cluster, CHKDSK considers it a conflict. It may delete or separate them to preserve system stability.
5. Bad Sector Repairs Lead to File Loss
If CHKDSK encounters bad sectors that contain important data, it often tries to repair them. But repairing a bad sector can destroy the data stored there.
6. Attribute Errors Result in Hidden Files
Sometimes CHKDSK doesn’t delete the files at all—it just changes their attributes. They become hidden, system, or read-only, making them appear as if they’re gone.
Here’s the bottom line:
CHKDSK doesn’t maliciously delete files, but its automatic repair functions can lead to missing data, hidden folders, or unreadable fragments.
The sooner you attempt recovery, the higher the chance of restoring your files safely.
Let’s begin with the first—and easiest—way to recover CHKDSK-deleted files.
#1: Check the FOUND Folder for .CHK Files
Before you try advanced recovery tools or deep scans, always start with the simplest step: check the FOUND folder.
This folder usually appears on the same drive CHKDSK scanned. It is hidden by default and may appear in this format:
- FOUND.000
- FOUND.001
- FOUND.002
(and so on)
Inside these folders, you’ll find files with the extension:
- FILE0000.CHK
- FILE0001.CHK
- FILE0002.CHK
What Are .CHK Files?
They are file fragments or data clusters that CHKDSK has “rescued.”
Because CHKDSK doesn’t know what they originally were, it gives them generic names.
These files may contain:
- photos
- documents
- folder structures
- videos
- archives
- program files
- or mixed fragments
Depending on the corruption, you may be able to restore these .chk files back into usable formats.
How to View the FOUND Folder
- Open File Explorer.
- Go to View → Show → Hidden Items.
- Look for folders named FOUND.000, FOUND.001, etc.
- Open them and check for
.chkfiles.
If you see .chk files there, you have two options:
Option 1: Rename .CHK Files Manually
If you know the type of file you lost, try renaming one .chk file:
- Rename
FILE0001.CHKtoFILE0001.jpg(for a photo) - Or to
.mp4,.docx,.xlsx, etc.
Sometimes, this instantly restores the file.
Option 2: Use a CHK Recovery Tool
Tools exist specifically to convert .chk files back into usable formats by identifying their internal signatures.
Popular examples include:
- CHK-Mate
- UnCHK
- FileCHK
- Recover My Files
These tools scan each .chk file and automatically detect what the original file type was.
What If Your FOUND Folder Is Empty?
If no .chk files appear—or if the folder doesn’t exist—don’t panic. Your files may not have been converted to .chk at all. They may simply be:
- hidden
- misplaced
- stripped of attributes
- overwritten
- or recoverable through a deeper scan
So let’s move to the next method.
#2: How to Recover CHKDSK Deleted Files? – Advanced
If the FOUND folder doesn’t help, you need to use more advanced methods to recover the deleted data.
The good news:
CHKDSK rarely overwrites files completely.
It mostly changes their structure or moves them.
This means recovery tools can often locate what CHKDSK removed.
Why Advanced Recovery Works
When CHKDSK “deletes” a file, it doesn’t wipe the data—it only removes file system references.
The raw data remains on the disk until something else overwrites it.
Professional recovery software scans the disk sector-by-sector to reconstruct deleted files, even if the directory structure is damaged.
Steps to Recover CHKDSK Deleted Files
Here are the most effective steps:
Step 1: Stop Using the Drive Immediately
Every minute you continue using the affected drive, you risk overwriting the deleted data.
Even browsing the internet or downloading a small file can permanently destroy recoverable data.
If the CHKDSK scan was done on your system drive (C:), avoid installing anything new. If possible, perform the recovery from another drive or use a bootable environment.
Step 2: Install a Reliable Data Recovery Tool
You want software that can:
- recover lost partitions
- rebuild corrupted file systems
- detect raw data clusters
- restore deleted files
- reconstruct folder structure
Popular tools for this include:
- Recuva
- EaseUS Data Recovery Wizard
- Stellar Data Recovery
- Disk Drill
- MiniTool Power Data Recovery
Choose a tool and install it on a different drive (never on the affected one).
Step 3: Run a Deep Scan
A quick scan may not be enough, because CHKDSK may have altered the location of file records.
A deep scan searches:
- raw sectors
- damaged clusters
- lost chains
- unallocated space
- file system remnants
This takes time, but it’s the most thorough method.
Step 4: Preview and Recover Files
Most recovery tools let you:
- preview photos
- preview documents
- check video integrity
- verify file size and completeness
Only recover the files you need, then restore them to a separate storage device.
Step 5: Rebuild Folder Structure (Optional)
Some tools allow reconstruction of:
- damaged directories
- renamed folders
- incomplete file paths
This can restore your previous folder layout, especially helpful if CHKDSK removed an entire directory.
If this method restores your files, you can stop here.
If not, continue to the next options below.
#3: Restore Data from Backup
If you use built-in backup tools or cloud storage, you may have an easier path to recovery.
Check for any of the following:
1. Windows File History
Go to:
- Control Panel → File History
or - Settings → Backup → More Options
If File History was enabled, you can restore older versions of folders before CHKDSK modified them.
2. Previous Versions
Right-click the folder that lost files.
Select Properties → Previous Versions.
If Windows created shadow copies, you can easily recover older states.
3. OneDrive, Google Drive, or Dropbox
These services often keep:
- version history
- deleted file recovery
- local cache backup
Log into your cloud dashboard and check for deleted files.
4. External Backup Drives
If you regularly clone or sync your drive to an external HDD, SSD, or NAS, your files may still exist there untouched.
Backup recovery is often the fastest and safest method.
But if you didn’t have backups enabled, don’t worry—there are still more advanced ways to restore your data.
#4: Use Command Prompt to Reassign File Attributes
Sometimes CHKDSK doesn’t delete the files—it just changes their attributes.
They may be marked as:
- hidden
- read-only
- system files
This makes them appear missing even though they are still there.
You can fix this using a simple Command Prompt command.
Step 1: Open Command Prompt (Admin)
Press:
Win + X → Command Prompt (Admin)Step 2: Run the Attribute Reset Command
Type the following command, replacing D: with the affected drive:
attrib -h -r -s /s /d D:\*.*This command:
- -h = removes hidden attribute
- -r = removes read-only
- -s = removes system flag
- /s = scans subfolders
- /d = includes directories
After running it, open your drive again and look for restored files or folders.
Typical Situations Where This Works
- CHKDSK made your folder invisible
- Files are present but not accessible
- Directory names disappeared
- System flags were set incorrectly
This is one of the most underrated but effective recovery steps.
#5: Avoid Overwriting and Further Damage
Everything you do after a CHKDSK scan matters.
If you want the highest chance of file recovery, you must avoid:
1. Installing new software on the affected drive
This risks overwriting recoverable data clusters.
2. Copying new files to the drive
Even small files can overwrite important sectors.
3. Running disk cleanup or optimization tools
These tools rewrite allocation tables and metadata.
4. Running CHKDSK again
A second repair attempt can destroy partial recoveries or .chk fragments.
5. Using defragmentation tools
Defragmentation is extremely destructive to recoverable data.
6. Writing large caches (browser usage, downloads, temp files)
These silently use up the exact free space where deleted files might still exist.
The safest approach is:
- Stop using the affected drive.
- Use another device to download recovery tools.
- Store recovered files on a different drive.
Being cautious dramatically improves your chances of restoring everything.
Final Thoughts: Can You Prevent CHKDSK File Loss in the Future?
While CHKDSK is an important maintenance tool, it shouldn’t be run casually—especially with repair commands like /f or /r.
Here’s how to avoid future data loss:
✔ Always back up important files
File History, OneDrive, or an external drive can save you from emergencies.
✔ Avoid forced shutdowns
Sudden power loss often leads to corrupted folders that CHKDSK must repair.
✔ Check drive health regularly
Bad sectors and hardware aging increase the chances of file system errors.
✔ Don’t interrupt CHKDSK while it’s running
Stopping it midway can cause even bigger corruption.
✔ Replace failing drives early
If CHKDSK runs frequently without you asking, your drive may be dying.
Conclusion: You Can Recover CHKDSK Deleted Files
Losing files after a CHKDSK scan is stressful, but it’s far from hopeless.
In most cases, your files are still on the drive—they’re just hidden, damaged, or misplaced.
Here’s a quick recap of your best recovery options:
- Check the FOUND folder for
.chkfiles. - Deep scan the drive using professional recovery software.
- Restore from backups if available.
- Use Command Prompt to unhide files and remove system attributes.
- Avoid overwriting the affected drive at all costs.
With the right steps and a little patience, you can often restore photos, documents, videos, and important projects that seemed lost forever.